Skip to content

Diabetes Amigo

Supporting the parents and caregivers of kids diagnosed with Type 1 Diabetes

  • Daily T1D
    • Daily Diabetes Kit/Bag
    • Insulin Storage
    • Glucose Tab Storage
  • CGM
  • Insulin Pumps
  • Easing MDI Injections
  • Carb Counting
  • Sick Day
  • Travel
  • Sports
  • Blog
  • Home
  • 2021
  • April

Month: April 2021

Tips for Measuring Food for Carb Counts

Posted on April 20, 2021January 4, 2022 By Diabetes Amigo
Tips for Measuring Food for Carb Counts
Day-to-Day T1D

Every carbohydrate counts for my child’s blood sugar to stay in range. Detailed are tips for measuring carbohydrates to obtain accurate carbohydrate counts.

Types of Measuring Cups / How to Measure / Measuring on the Go

Types of Measuring Cups

It is important to use the right measuring tool to accurately measure ingredients to get an accurate carb count. The type of measuring tool used is based on if the ingredient is wet or dry. If a wet measuring cup is used to measure dry ingredients the measurement will be incorrect and might result in an undesired blood sugar high/low.

  • Wet – used to measure liquids. Measure items like juice, milk, or applesauce.
    • Pyrex set
  • Beaker – works great when measuring smaller liquid/wet amounts. Measure items like maple syrup, juice, or honey.
    • Nesting beakers
  • Sticky – perfect for measuring liquids that are more solid. Measure items like peanut butter, yogurt or honey.
    • Sticky measuring cup
  • Oral Syringe – helpful when measuring precise amounts of a wet ingredient to avoid over-treating a low. Also helpful for dispensing liquids into a sleeping child’s mouth. Measure items like maple syrup, juice, or cake gel.
    • Oral syringe
  • Dry – used to measure dry/non-liquid ingredients. Measure items like cereal, dried fruit, or nuts.
    • Dry measuring cups
    • Collapsing dry measuring cups
  • Measuring Spoons – smaller measuring tool that can measure wet or dry ingredients. Measure items like sugar, maple syrup, or glucose powder.
    • Measuring magnetic spoons
    • Collapsing measuring spoons
  • Food Scale – a food scale measures wet, dry or hard to measure ingredients. A food scale is helpful for measuring foods that do not fit perfectly into measuring tools. Most scales measure in ounces or grams and have a tare feature. The tare feature allows for subtracting the weight of the container holding the wet/dry ingredient. Also, look for a digital scale that has food codes for carb counts on common foods based on weight.
    • Perfect portions food scale
    • Smart food scale

How to Measure Carbs

  • Wet Ingredients – using a flat surface, add the liquid to the desired measure marking. Wait for the liquid to stay still, move your eyes to the same level as the measuring cup and make sure liquid level is at the desired mark (align the bottom of the curved surface [called a meniscus] with the markings on the measuring cup).
  • Dry Ingredients – spoon/scoop ingredients into the measuring cup. Level off the top of the measuring cup with the back of a knife or other flat surface.
  • Measuring Spoons – scoop ingredients into the measuring spoon. Level off the top of the measuring spoon with the back of a knife or other flat surface.
  • Food Scale – every scale is different so refer to your scale’s manual. Most scales:
    1. Turn on the scale.
    2. Choose the gram or ounces option (look at the food’s nutritional label to determine which option to choose).
    3. If using a container place the cup/bowl/plate on the scale and tare the weight of the container.
    4. Place/pour/scoop/spoon the ingredient into the container or place the food directly on the scale.
    5. Calculate the carbohydrates based on the weight of the food item and the nutritional label serving size information.

Measuring Carbs when Traveling

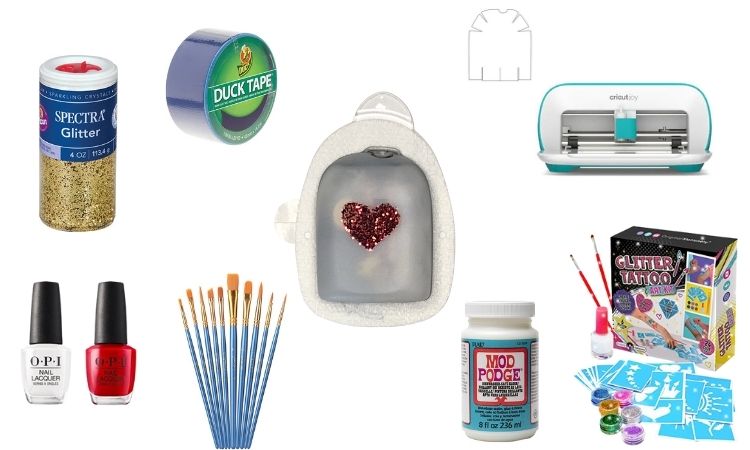
Products that I have found that work best when traveling to count carbs:

  • Folding food scale
  • Collapsible measuring cups/spoons
  • Water bottle with ounce markings
  • Calorie King book provides carb counts for most food items including restaurants/fast food

Decorating OmniPod Pods

Posted on April 3, 2021August 5, 2022 By Diabetes Amigo
Decorating OmniPod Pods
Day-to-Day T1D

This post may contain affiliate links. Please see the affiliate disclosure for more details.

If you like to show off your OmniPod (or maybe would like to not hear “what is that on your arm?”), decorate your pod! Keep in mind that some decorating techniques also help reduce pod static failures.

Decorating Tips / Products / Storage

Decorating Techniques

  • Duct Tape – cover an entire pod (excluding the adhesive) with duct tape. Consider buying duct etape that has preprinted colors, designs and cartoon characters to decorate the pod.
    • Duct Tape / Colored Duct Tape / Patterned Duct Tape
    • Gorilla Tape
  • Nail Polish – cover an entire pod (excluding the adhesive) with nail polish for a solid color or create nail polish art with several colors. Finish the design with clear nail polish or mod podge to seal the design.
    • Nail polish art set
    • Nail polish pens
    • Clear nail polish
    • Mod podge
  • Stickers with a Clear Coat – find your favorite design in a sticker, adhere it to OmniPod and then apply clear nail polish or mod podge to seal the sticker.
    • Make your own stickers
    • Print your own stickers
    • Sticker Book with 1000 stickers
    • Clear nail polish
    • Mod podge
  • Temporary Tattoos – apply a temporary tattoo (messages, art, cartoon characters and so on) according to the tattoo’s directions. Then apply clear nail polish or deco podge to seal the tattoo.
    • Variety pack of tattoos
    • Tattoo glitter stencils
    • Make your own temporary tattoos
    • Clear nail polish
    • Mod podge
  • Glitter – cover a pod with clear nail polish or mod podge, before it dries sprinkle on glitter and then add another clear coat (clear nail polish or mod podge) to seal the glitter.
    • Glitter
    • Clear nail polish
    • Mod podge

Pod Products

Preprinted pod shaped stickers and covers are sold by various vendors.

  • T1 Decals – vinyl stickers that are shaped perfectly to fit OmniPod.
  • Pump Pleelz – vinyl stickers that are shaped perfectly to fit OmniPod.
  • Shapeways – reusable OmniPod covers that cap on to the pod.
  • PumpSuitCover – German company offering reusable pod covers.
  • Mused Mediums – reusable OmniPod covers that cap on to the pod. The company has a Facebook group Diabetes Omnipod/Dexcom/Libre Water Marbling displaying many of their designs.
  • Just Fly Design – Type 1 Mom that designs custom and unique pod covers and stickers for OmniPod and Dexcom.
  • Sugar Fam Color Your Diabetes – Dutch company offering reusable OmniPod covers that cap on to the pod.
  • OmniPod Snaps – reusable OmniPod covers that cap on to the pod.

Storing Decorated Pods

Keep the pod’s packing (paper seal, syringe, and plastic) to store the decorated pods. Lift the pod’s paper seal just enough to remove the pod. Decorate the pod, place the dry decorated pod back into the original packaging and tape the paper seal with scotch tape. Pods can then be placed back in the original box and stored.

Try to keep the pod, its packaging and box together for lot tracking purposes in case of pod failures.

  • Instagram
  • Facebook

Copyright © 2026 Diabetes Amigo.

Theme: Oceanly News by ScriptsTown